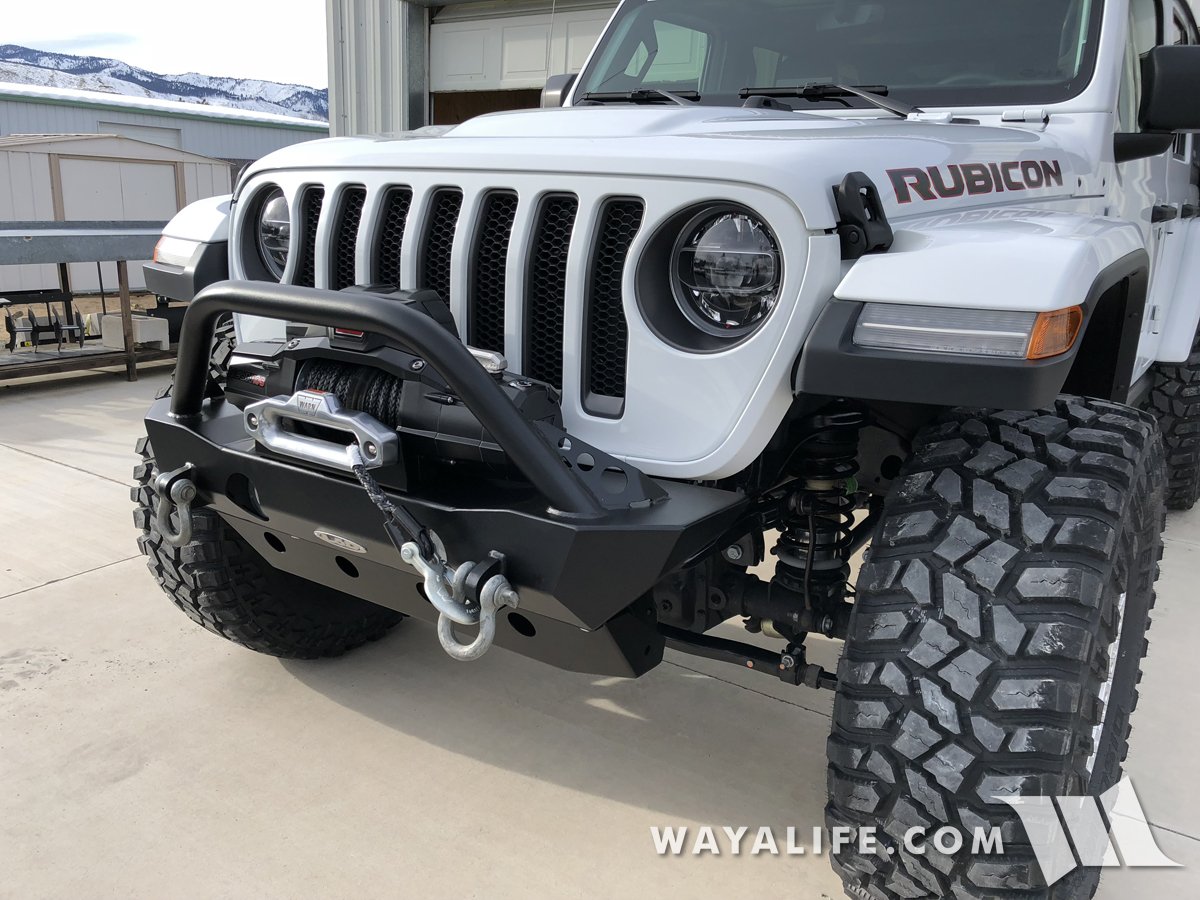
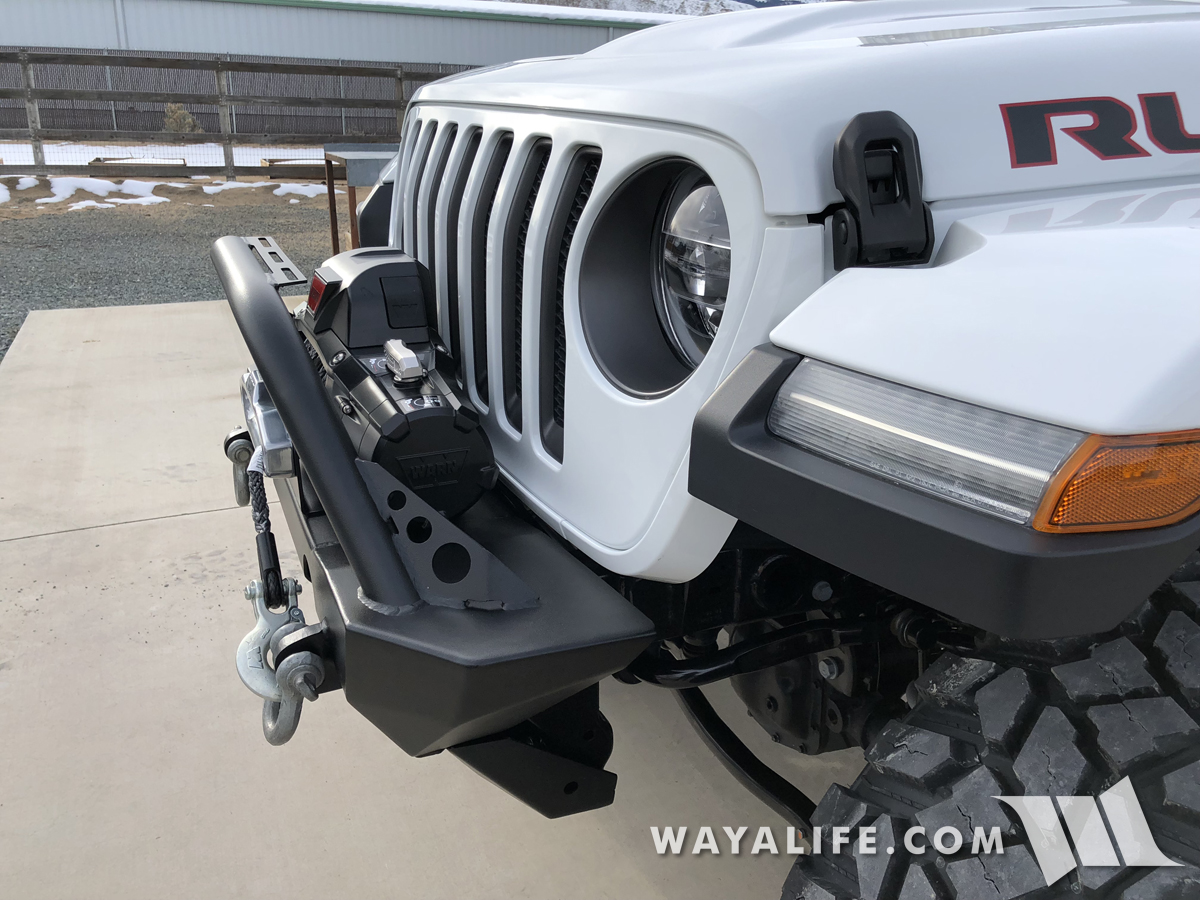
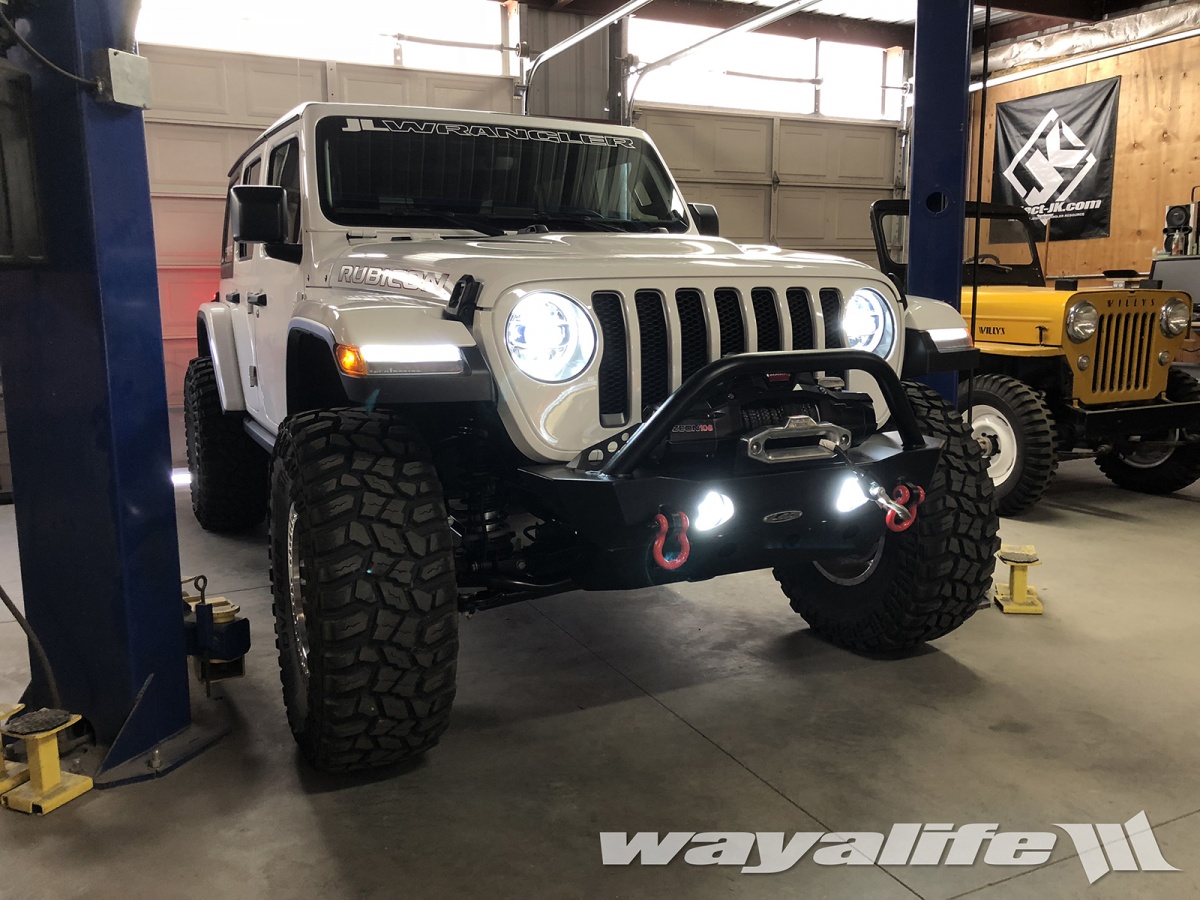
While Cindy and I love the optional steel bumper that you can get with a Jeep JL Wrangler Rubicon, we were disappointed to find that they don't come with winch plates and for some reason, Mopar doesn't seem to have one available or at least, not at this time. Sure, there are a couple of companies that offer a winch plate but being that we have a new WARN ZEON 10s, only one seems to be made to fit it and we don't really care for that company. With that said, we got talking to our good friends over at LoD and decided to change our plans or at least, for now anyway and we decided to install one of their Destroyer Shorty Front Bumpers. Fortunately, they look great, are made well, come with a tight profile and they do come ready to have a winch mounted onto it, have ports that allow factory fog lights to be installed and of course, the bull bar or winch guard also has mounting tabs for a light bar to be installed. Here are a few pics of what it looks like installed on JET Li.
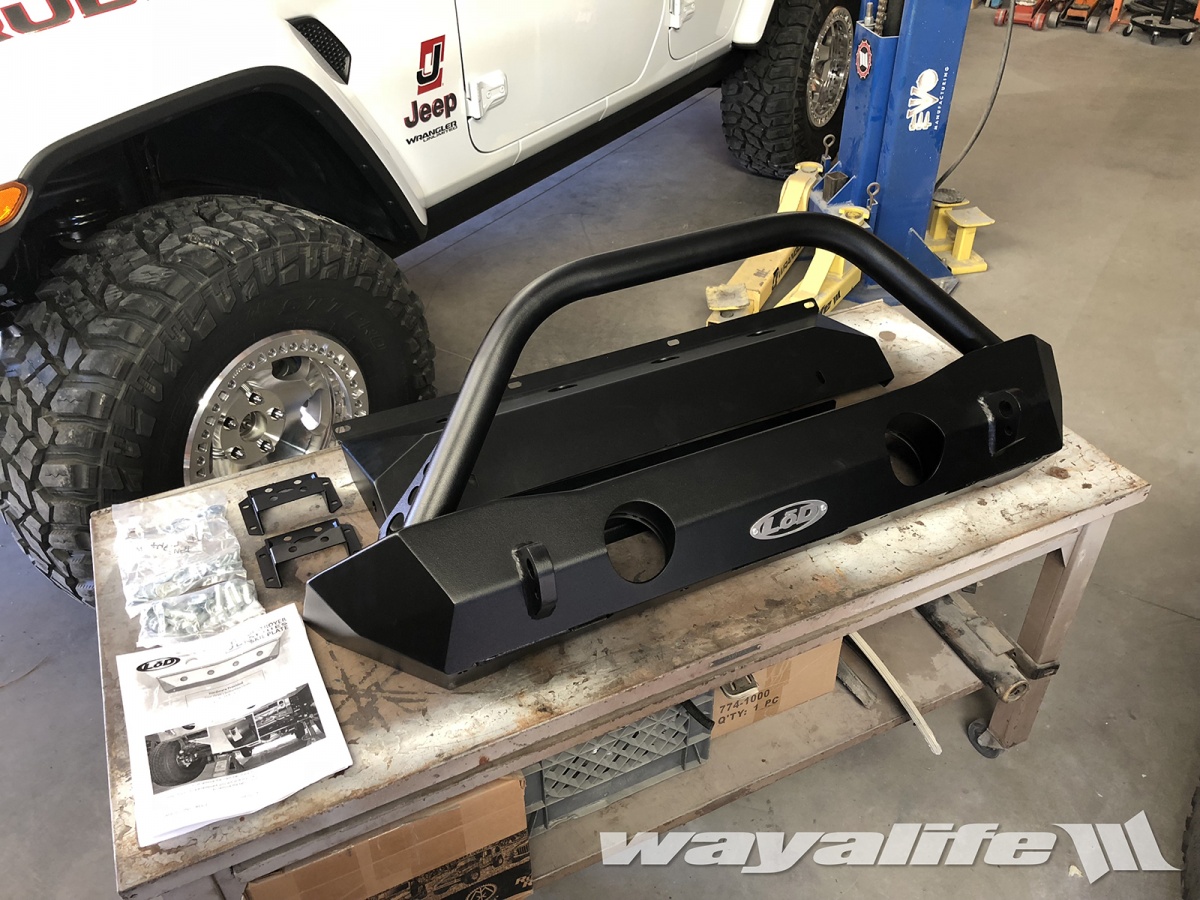
The LoD JL Wrangler Destroyer Shorty Front Bumper all unpacked and ready to be installed.
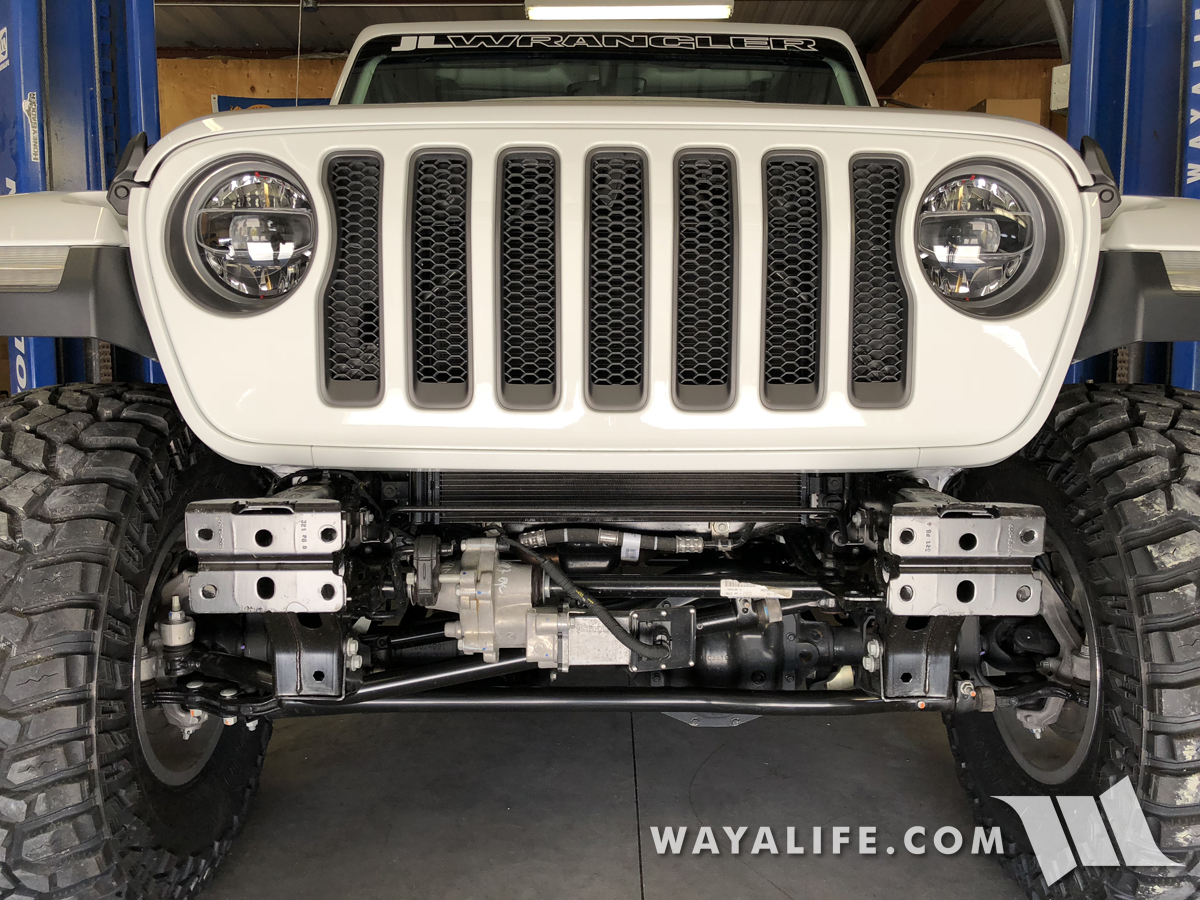
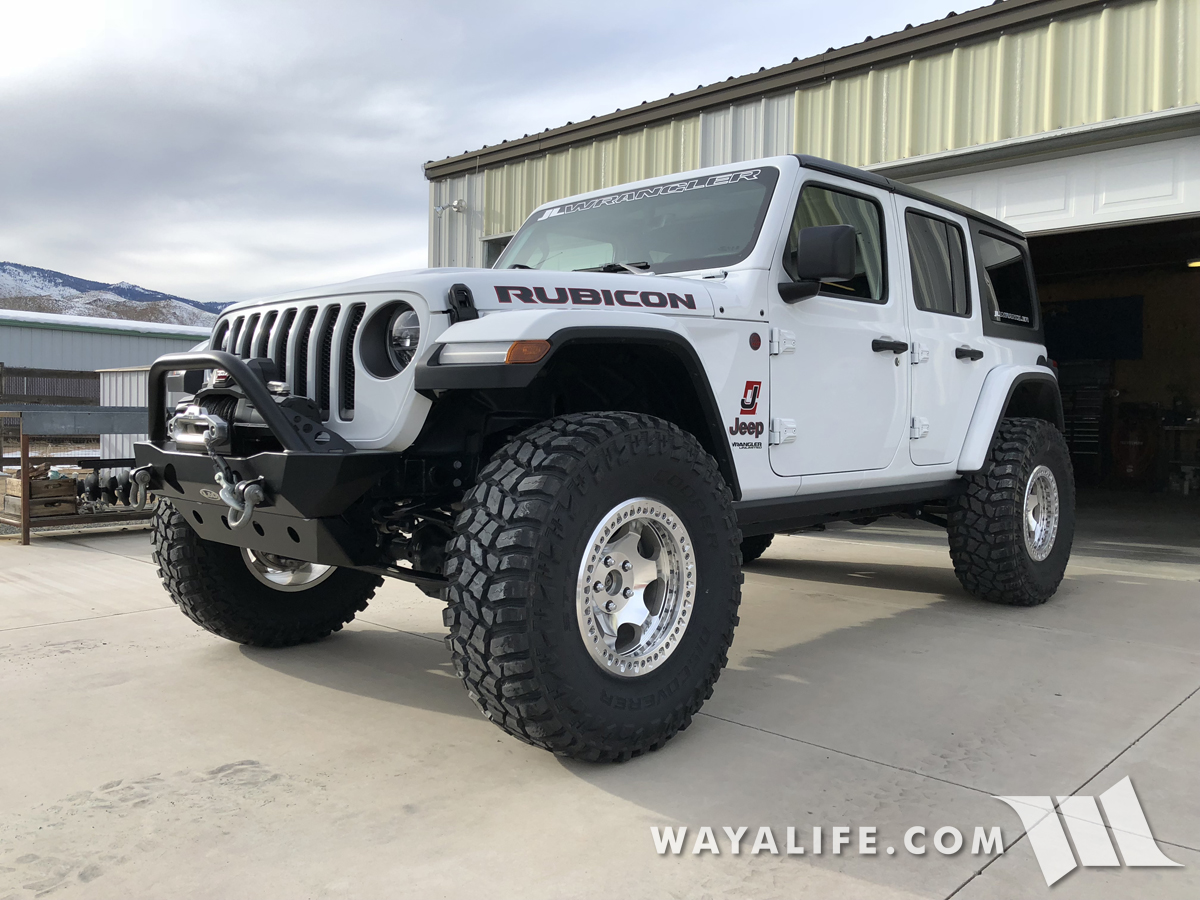
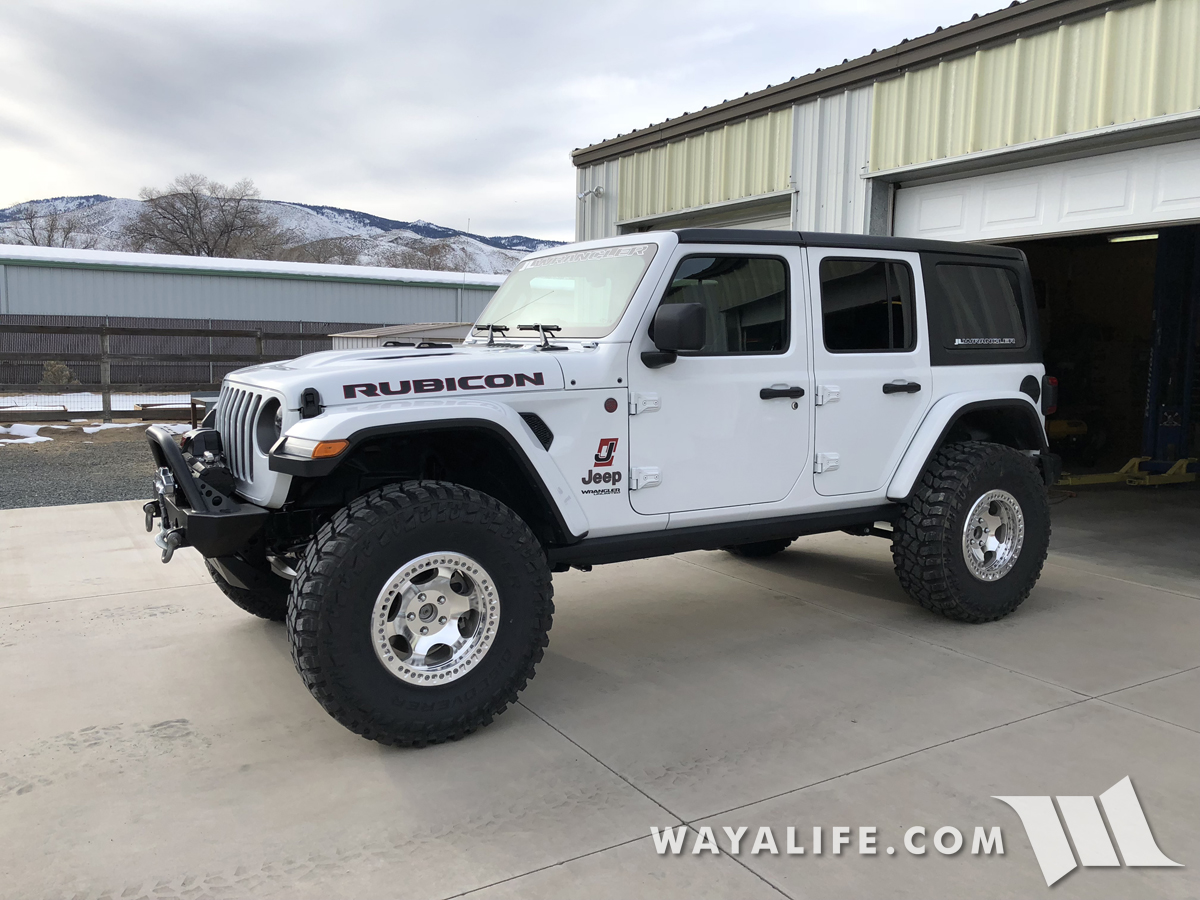
JET Li ready for they transplant.
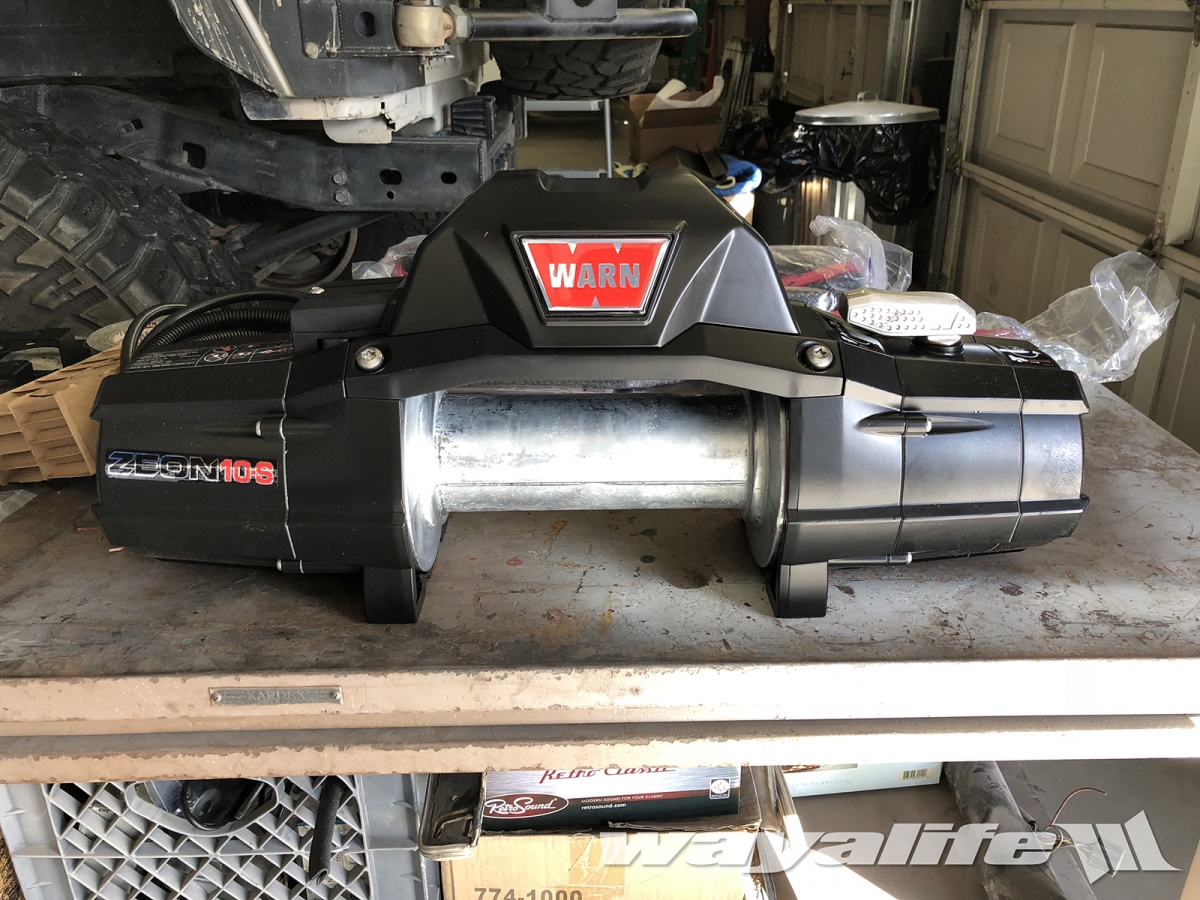
Of course, one of the reasons why we're doing this in the first place.
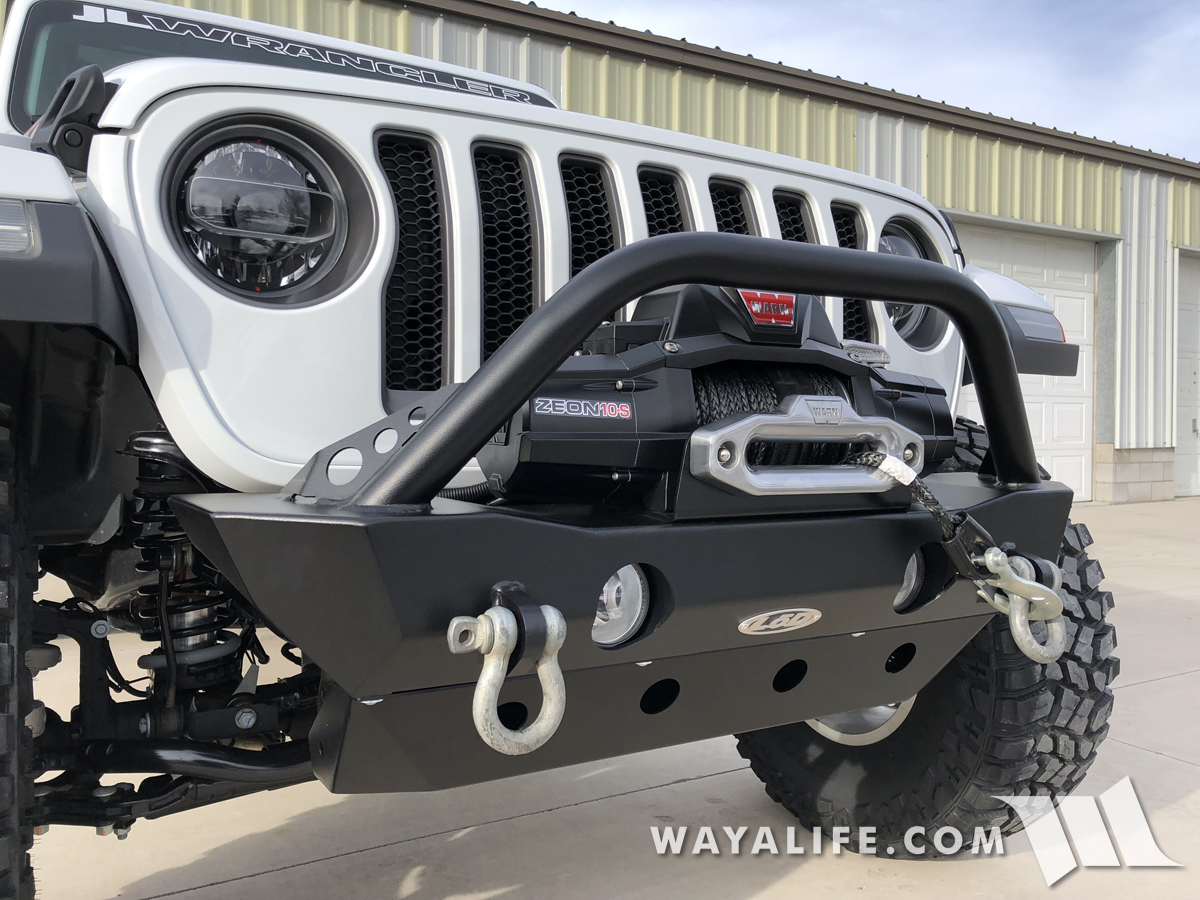
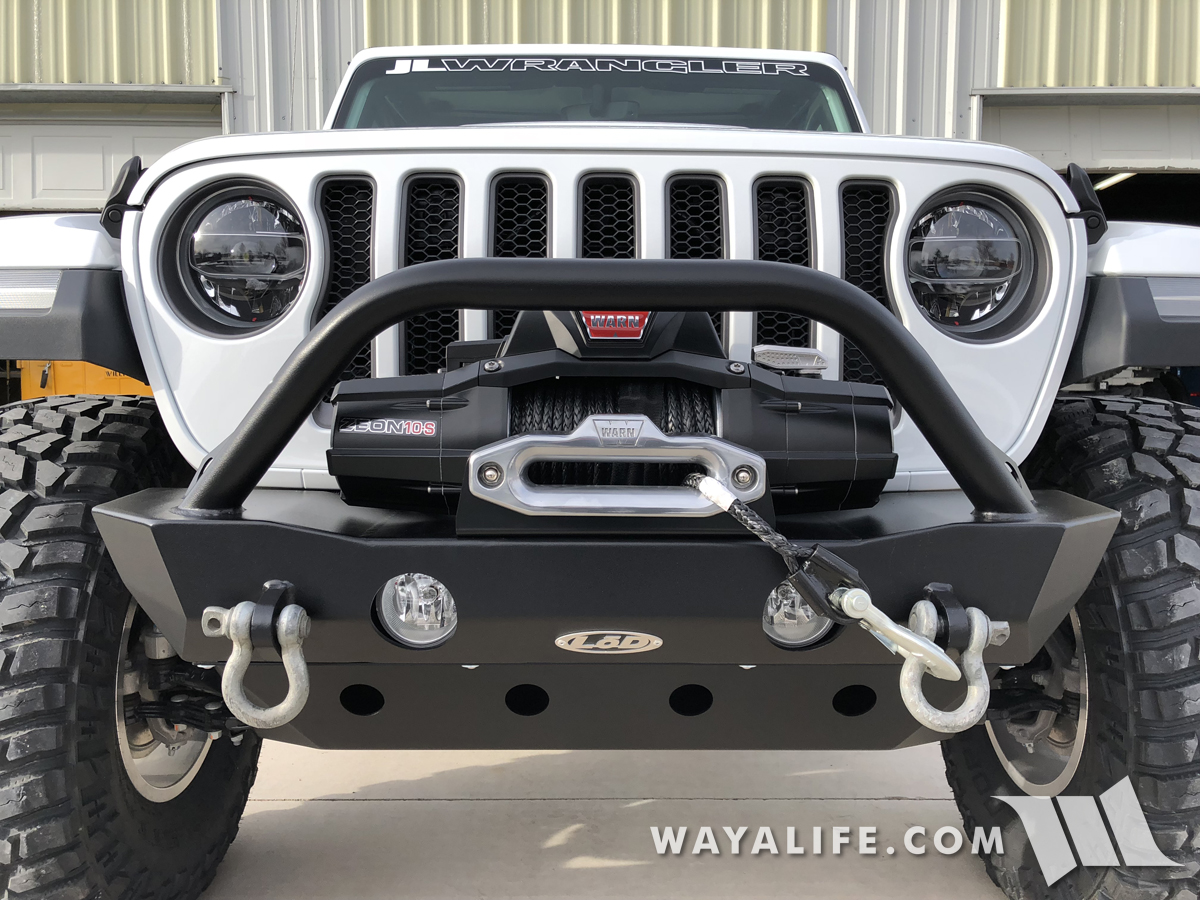
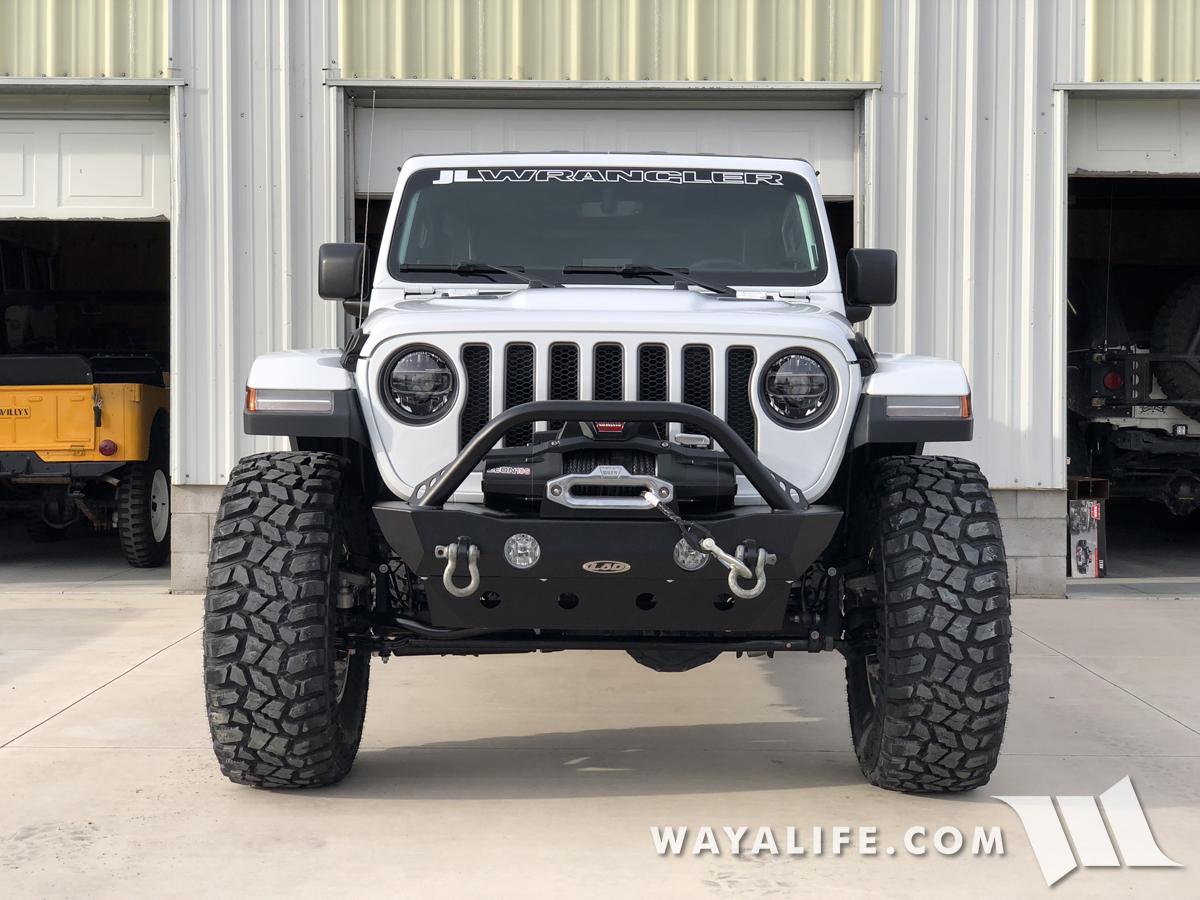
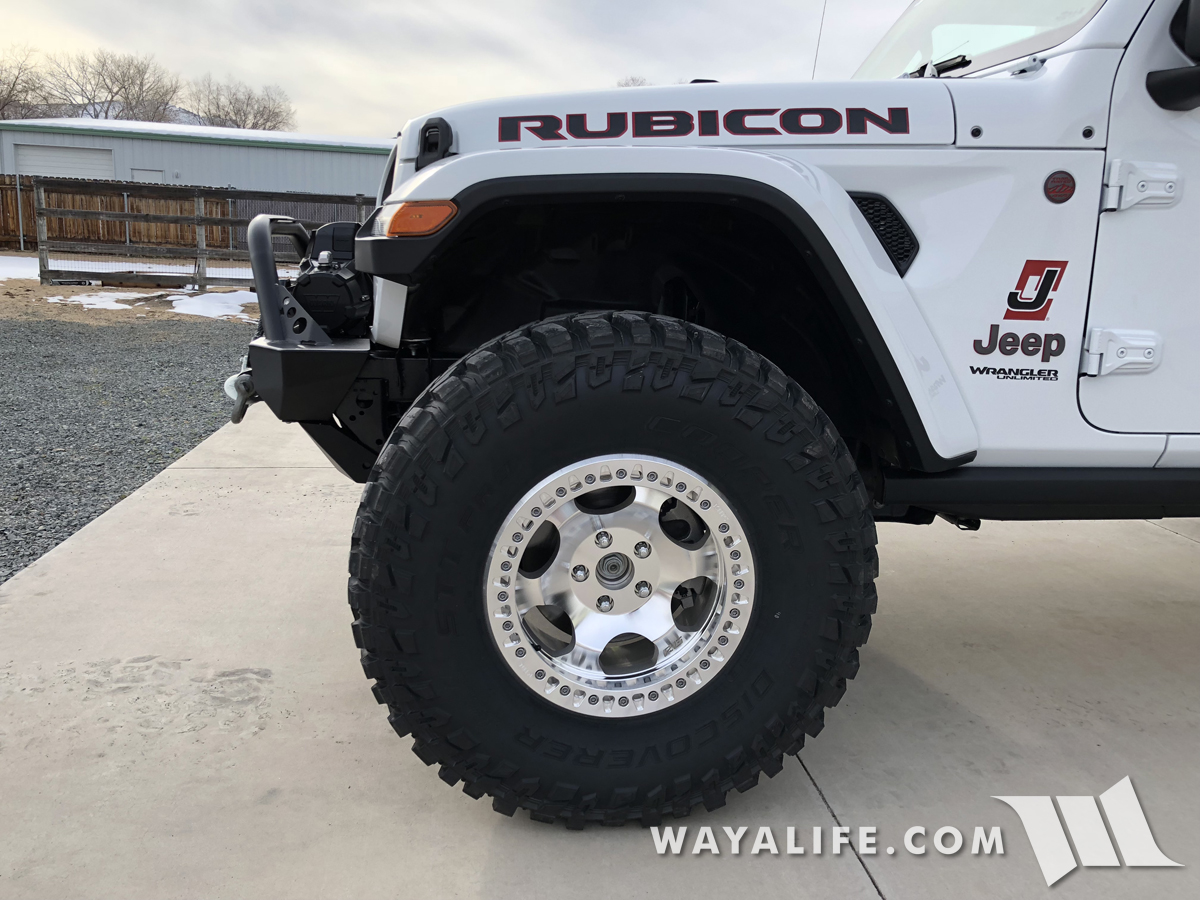
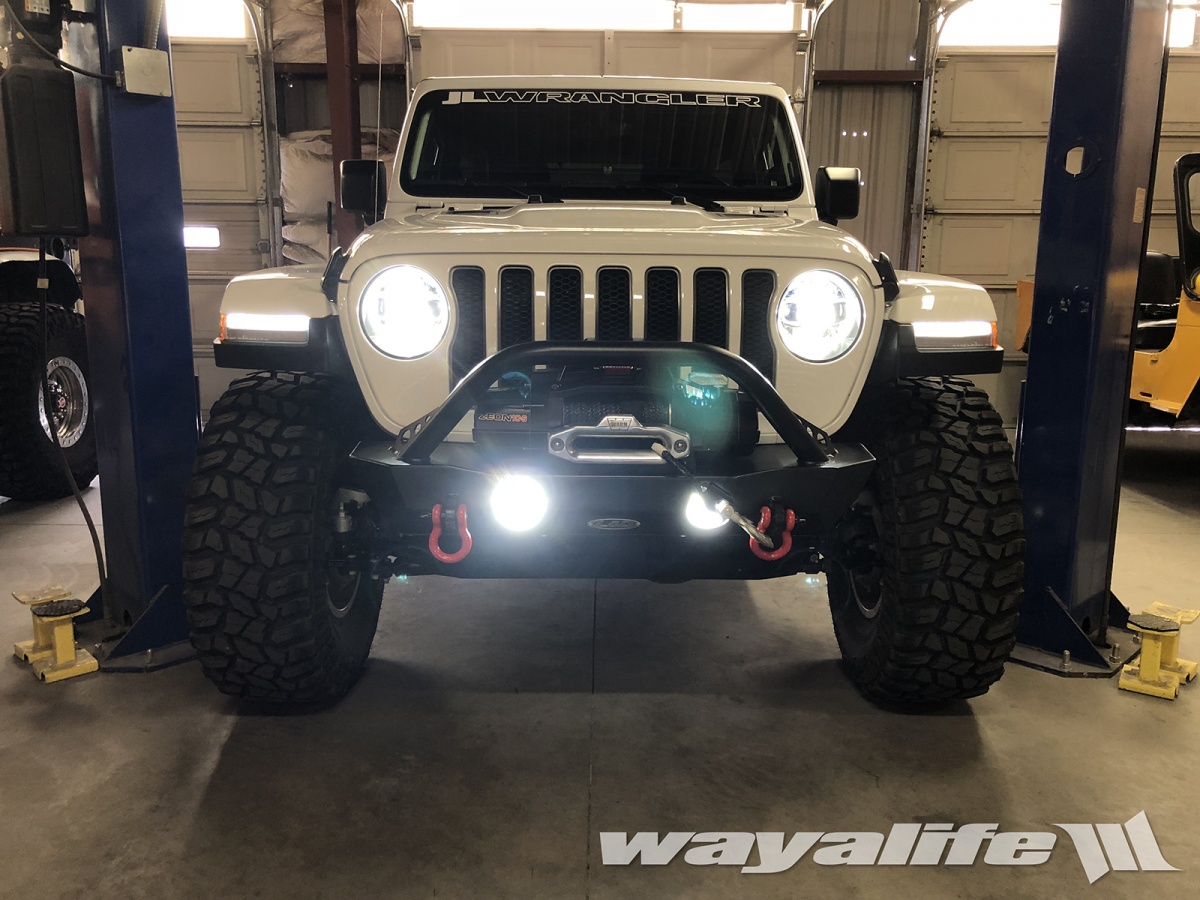
Ta-DA! New bumper installed and complete with WARN ZEON 10s installed.
Now - it's time for us to head out to MOAB!! :wings:
LED Fog Light Bulb UPDATE
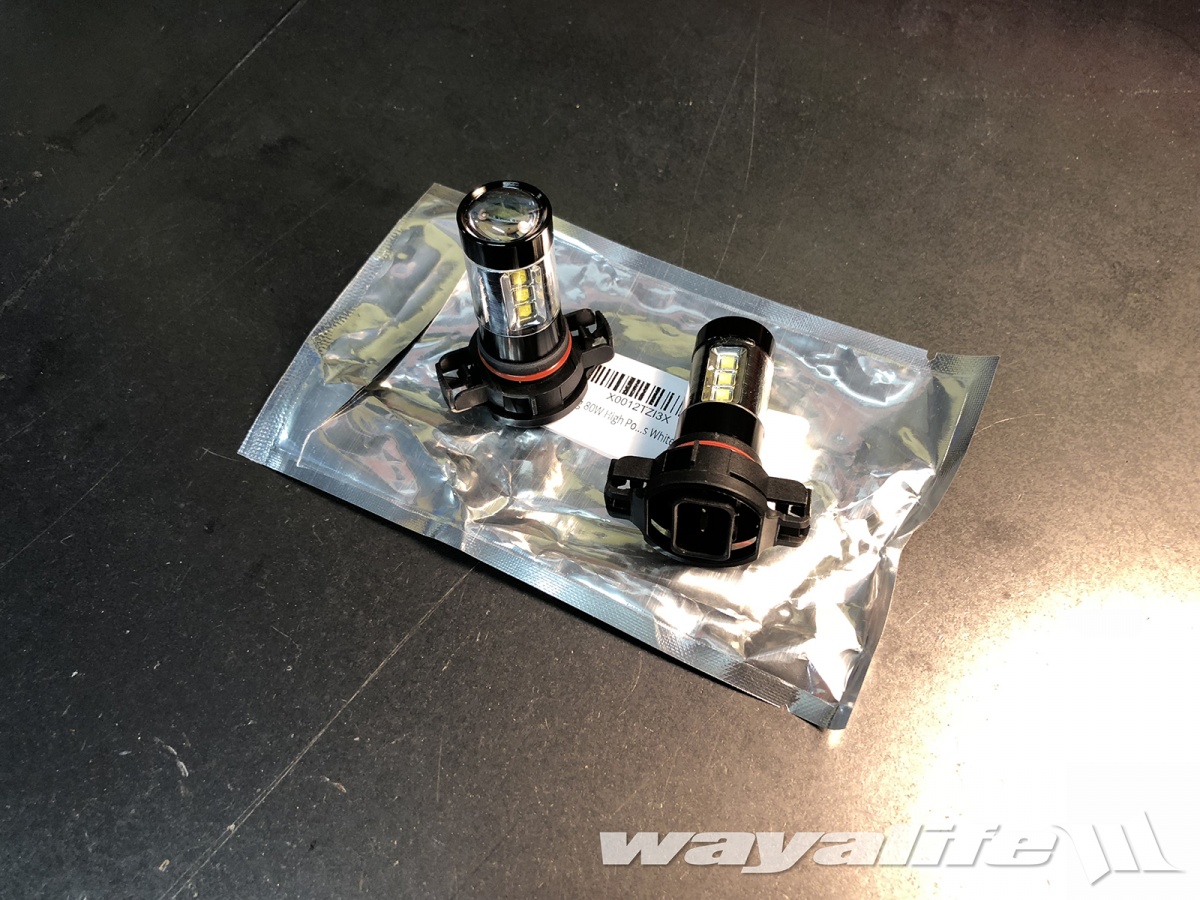
Okay, so I've had a few people ask me about the LED bulbs I used to replace the incandescent bulbs in our old JK fog light housings and so I thought I would post up an update regarding them. Of the myriad of bulbs you can get, the following is what I went with as they only cost $32 for the pair.
Alla Lighting 80W High Power Osram Xtremely Super Bright
2504 PSX24W LED Bulbs White for Fog Light Lamp
I'll try to take a shot at night but I think you can at least see that the color of them looks the same as the headlights.
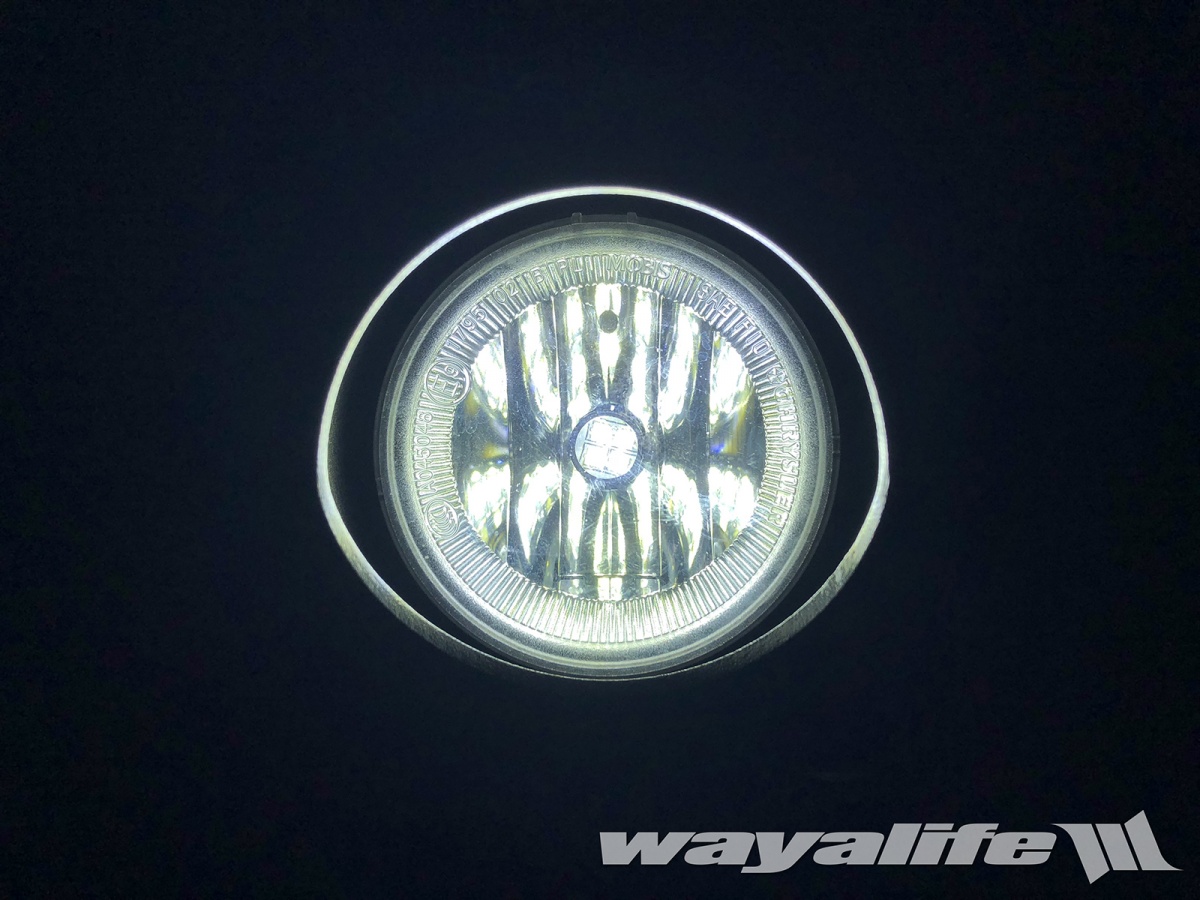
Prior to installing these new LED bulbs, the fogs were distinctly yellow in color.
And finally, a close up shot.
ADDENDUM 04/22/18
I can't say that I was ever really happy with the way I had routed our winch leads to the battery but being that I was under the gun to get everything done before heading out to Moab, I did what I could to make it work. I don't have any pics of it but as you can see in our video, I just ran them along the fender and to the battery.
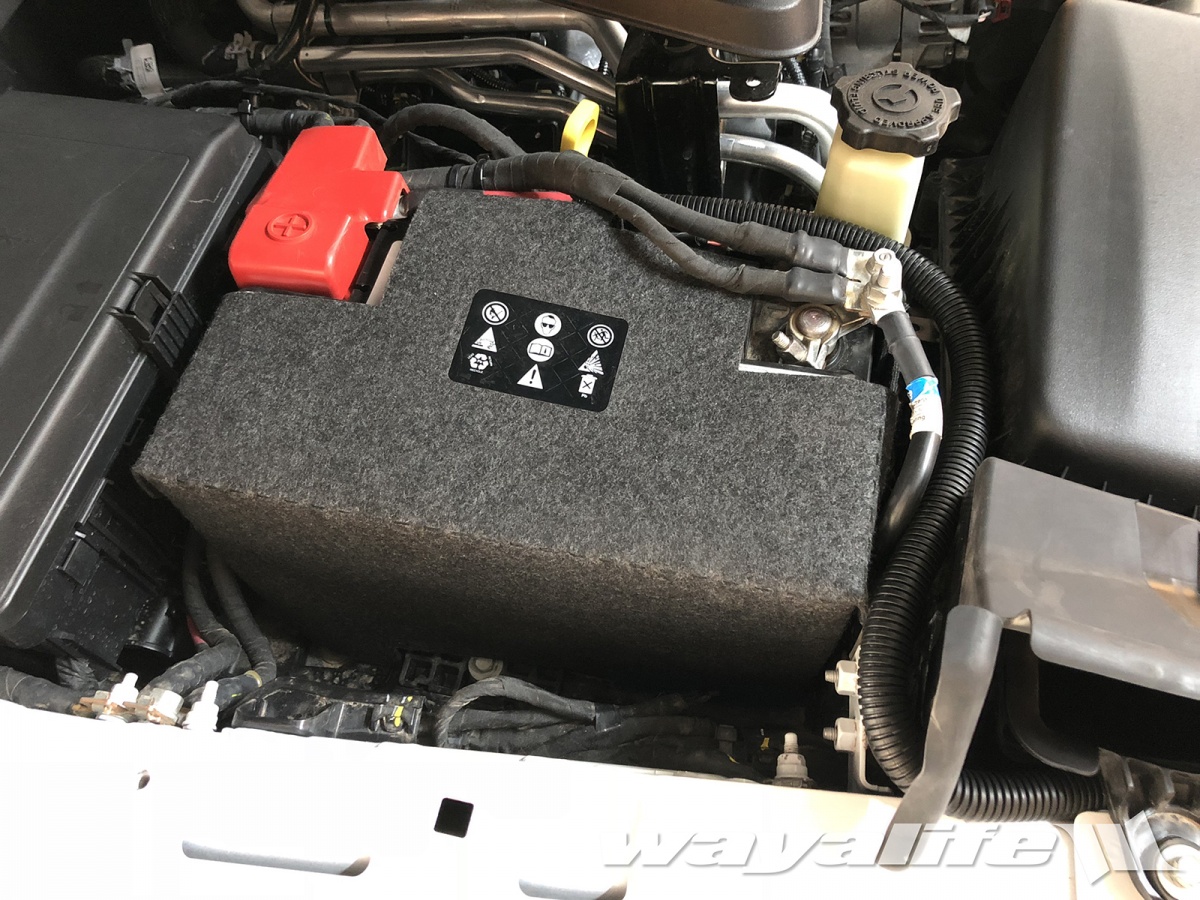
After spending a bit of time looking under the hood, I decided to reroute them a bit to give things a cleaner look. And, here's what it looks like now tucked under the intake support.
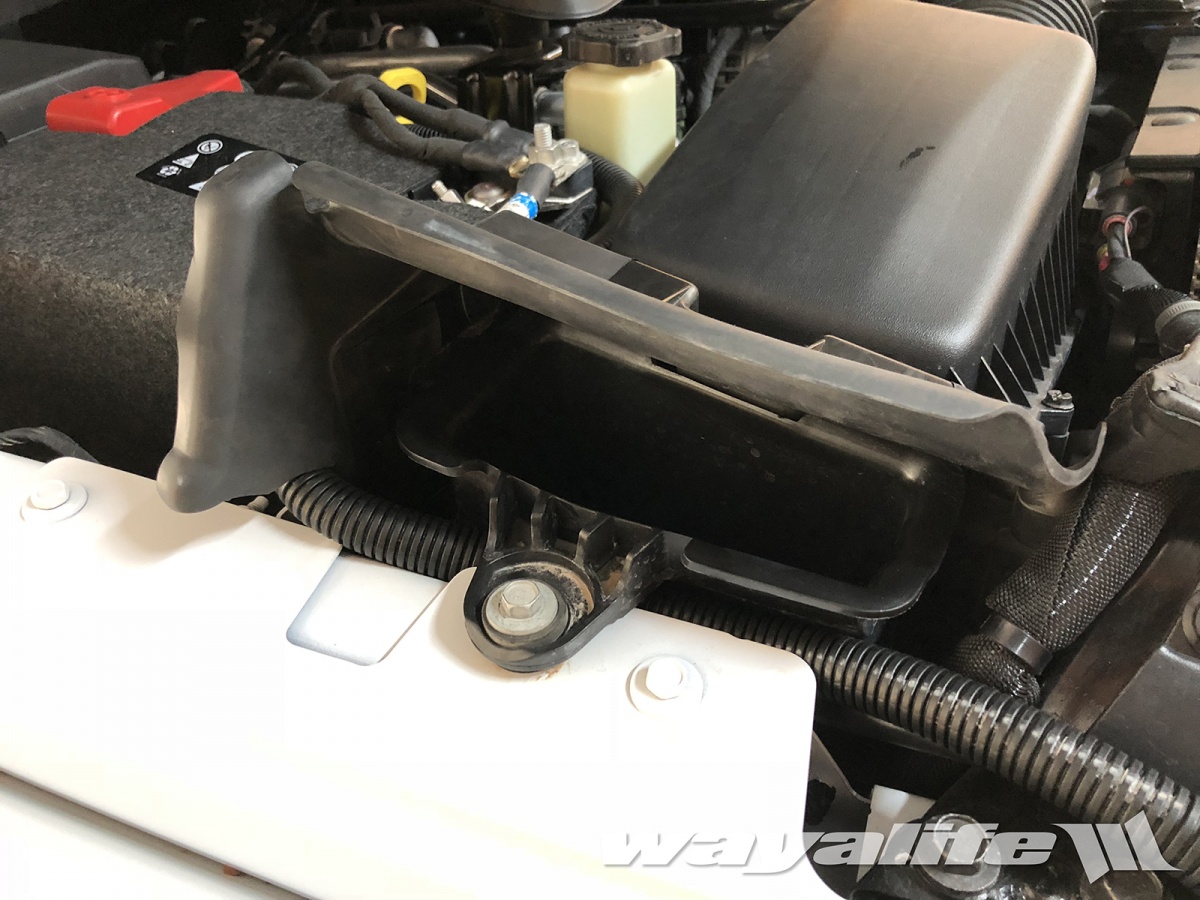
As you can see here, I routed the leads around the front of the battery. The nice thing about doing it this way is that the positive lead was just long enough to mount to the bigger of the 3 terminals and the red cover had a notch for it so it sits down nicely now. :yup:
The LoD JL Wrangler Destroyer Shorty Front Bumper all unpacked and ready to be installed.
JET Li ready for they transplant.
Of course, one of the reasons why we're doing this in the first place.
Ta-DA! New bumper installed and complete with WARN ZEON 10s installed.
Now - it's time for us to head out to MOAB!! :wings:
LED Fog Light Bulb UPDATE
Okay, so I've had a few people ask me about the LED bulbs I used to replace the incandescent bulbs in our old JK fog light housings and so I thought I would post up an update regarding them. Of the myriad of bulbs you can get, the following is what I went with as they only cost $32 for the pair.
Alla Lighting 80W High Power Osram Xtremely Super Bright
2504 PSX24W LED Bulbs White for Fog Light Lamp
I'll try to take a shot at night but I think you can at least see that the color of them looks the same as the headlights.
Prior to installing these new LED bulbs, the fogs were distinctly yellow in color.
And finally, a close up shot.
ADDENDUM 04/22/18
I can't say that I was ever really happy with the way I had routed our winch leads to the battery but being that I was under the gun to get everything done before heading out to Moab, I did what I could to make it work. I don't have any pics of it but as you can see in our video, I just ran them along the fender and to the battery.
After spending a bit of time looking under the hood, I decided to reroute them a bit to give things a cleaner look. And, here's what it looks like now tucked under the intake support.
As you can see here, I routed the leads around the front of the battery. The nice thing about doing it this way is that the positive lead was just long enough to mount to the bigger of the 3 terminals and the red cover had a notch for it so it sits down nicely now. :yup:
